
 Software Center is part of Microsoft’s System Center Configuration Manager (SCCM), which allows Enterprise Technology Services (ETS) to deploy, manage, support and update applications and services across CAMPUS domain joined systems.
Software Center will allow you to install a variety of licensed software, and software updates on your own computer without requiring Administrative permissions.
Installing Programs
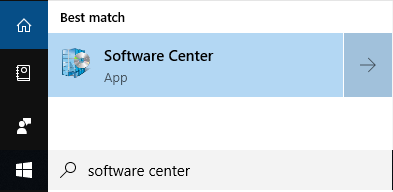
- Press the key on your keyboard, search for “Software Center”. From the search results, click the Software Center icon.
- A list of available software will be displayed. Select the program you’d like to install. In this example, we’re installing the Cisco AnyConnect VPN Client.

- Click the Install button.
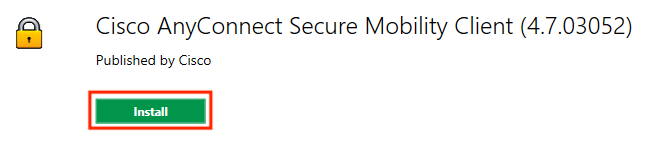
- The software should install shortly.
Mandatory Windows Updates
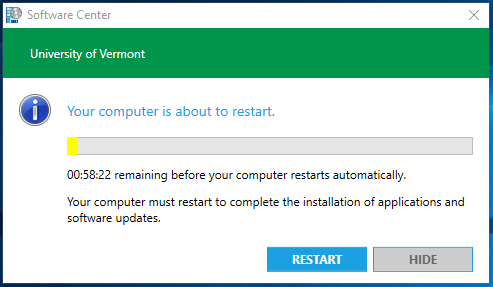
Windows updates and security patches become mandatory six days after they are made available.
During this six-day period, Windows updates can be installed manually at whatever time is most convenient. In the event updates are not installed by the deadline, Software Center will display a countdown before rebooting to install the updates automatically.
Troubleshooting
If Software Center is unable to successfully install Windows Updates or Programs, the below steps may resolve the issue.
Clearing Configuration Manager Cache
- Open Control Panel
- Select System and Security
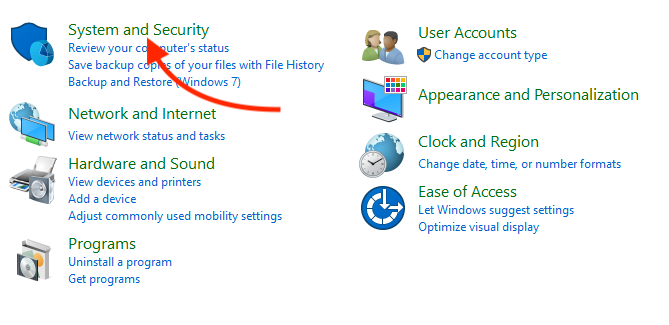
- From the list, select Configuration Manager

- Select the ‘Cache’ tab, then click the Delete Files button.
- If the Delete Files button is greyed out, select “Configure Settings” first.
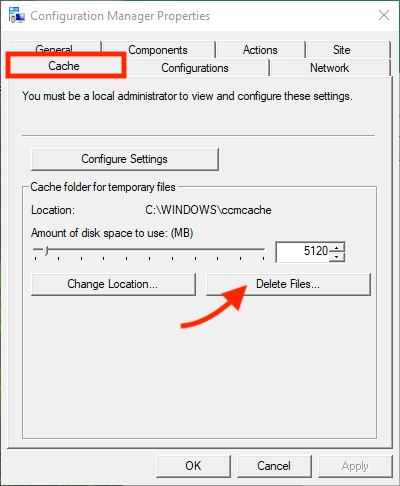
- If the Delete Files button is greyed out, select “Configure Settings” first.
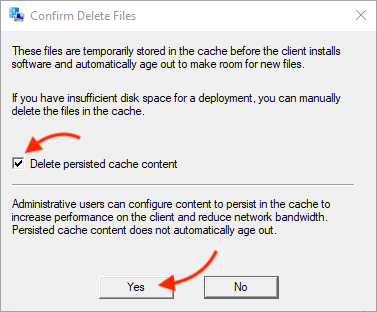
- Check the “Delete persisted cache content” box, then click Yes
Re-Install Software Center
- Open a Command Prompt as an Administrator
- Run the following command to initiate the uninstaller
C:\Windows\ccmsetup\ccmsetup.exe /uninstall
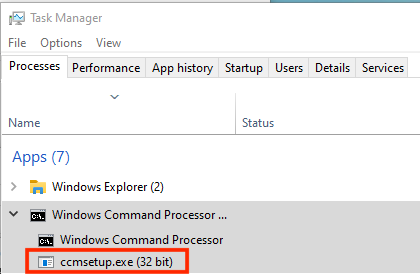
- Open the Task Manager (Ctrl + Alt + Delete –> Task Manager). Look for the ccmsetup.exe process. When the process exits, the Software Center has finished uninstalling.
- From the Command Prompt window, update group policy with the following command:
gpupdate /force
- Reboot the computer.
- Log into the computer and check for new Windows Updates.
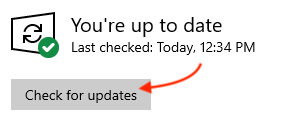
- The Configuration Manager Client should be offered as an available update and installed.

- If the Configuration Manager Client is not available via Windows Update, it can be manually installed from the installer on the Shared drive.
- When the update finishes installing, reboot the computer. Software Center should be available in the start menu
Install Configuration Manager from the Shared drive
The Configuration Manager Client installer is available on the Shared drive at the following location:
\\files.uvm.edu\shared\software\Deploy\ConfigMgr\Client Installer
Force Software Center to update the available Software list
In some cases, the available software list within Software Center is incomplete or outdated. To force the list to update, please do the following:
- Open Control Panel
- Select System and Security
- From the list, select Configuration Manager
- Select the Actions tab.
- Select Machine Policy Retrieval & Evaluation Cycle, then click Run Now
- Select Software Inventory Cycle, then click Run Now
- Select Application Deployment Evaluation Cycle, then click Run Now
- The available software in Software Center should update soon. Pressing the F5 key within the Software Center window will refresh the list.
Log Files
For additional troubleshooting, SCCM log files are available in the following location:
C:\Windows\CCM\Logs