
![]() OneDrive is a cloud-based storage and synchronization service operated by Microsoft as part of its Office Online suite. This service enables you to share and access files from all of your Internet-connected devices. UVM accounts with Office 365 A3 licenses (current students, staff, and faculty) have 1TB of OneDrive storage, and those with A1 licenses (primarily retired staff and faculty) have 100GB. For more information on Office licenses, see our article on Office 365 Licensing, Installation, and Activation.
OneDrive is a cloud-based storage and synchronization service operated by Microsoft as part of its Office Online suite. This service enables you to share and access files from all of your Internet-connected devices. UVM accounts with Office 365 A3 licenses (current students, staff, and faculty) have 1TB of OneDrive storage, and those with A1 licenses (primarily retired staff and faculty) have 100GB. For more information on Office licenses, see our article on Office 365 Licensing, Installation, and Activation.
Installation & Sign-in
Windows
OneDrive comes pre-installed on Windows 10 and Windows 11 devices. If you are running an older version of Windows, you can download OneDrive from onedrive.com/download, but please consider upgrading.
- Click the Start Menu () button or press the Windows () key, and then search for “onedrive” and select the OneDrive App from the search results.

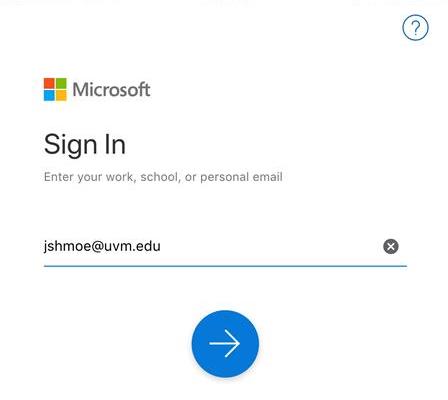
- Enter your UVM email address, and then click Sign In.
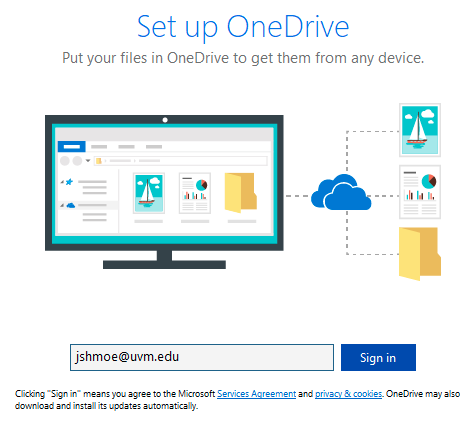
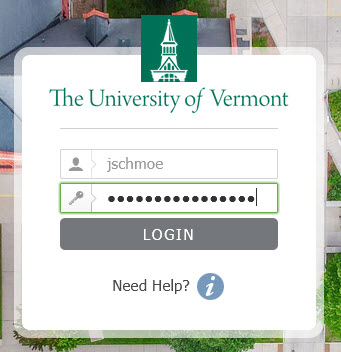
- Sign in with your UVM NetID and password.


You should now be signed in to OneDrive.
macOS
- Download the OneDrive installer from onedrive.com/download or from UVM’s Managed Software Center.
- Launch the installer and follow the installation prompts using the default settings.
- After the installation of OneDrive has finished, open OneDrive from your Applications folder or by searching “onedrive” in spotlight search.
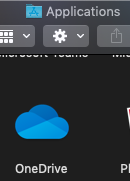
- Enter your UVM email address, and then click Sign In.
- Sign in with your UVM NetID and password.
You should now be signed in to OneDrive.
Android
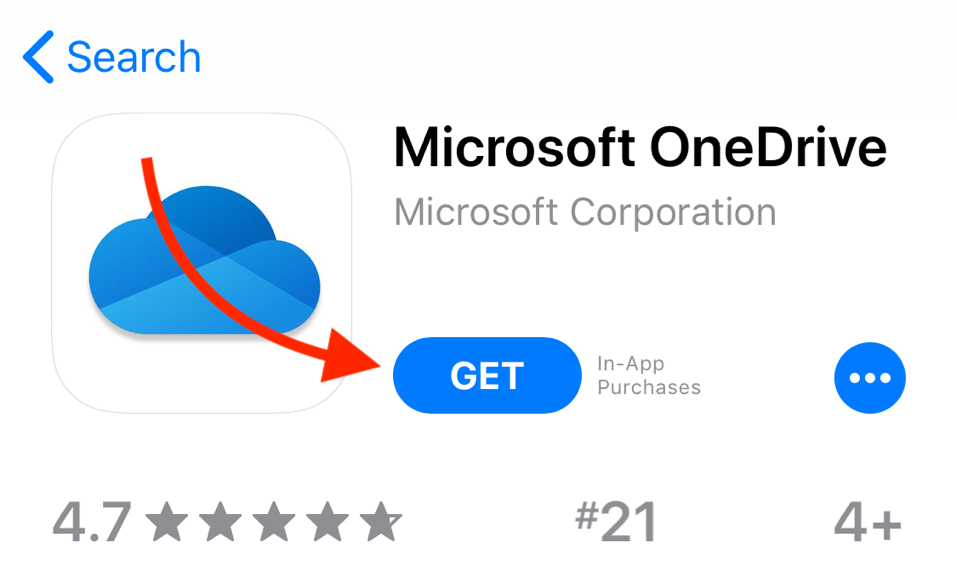
- Install Microsoft OneDrive from the Google Play Store

- Once installed, open the OneDrive app.
- Tap Sign in.
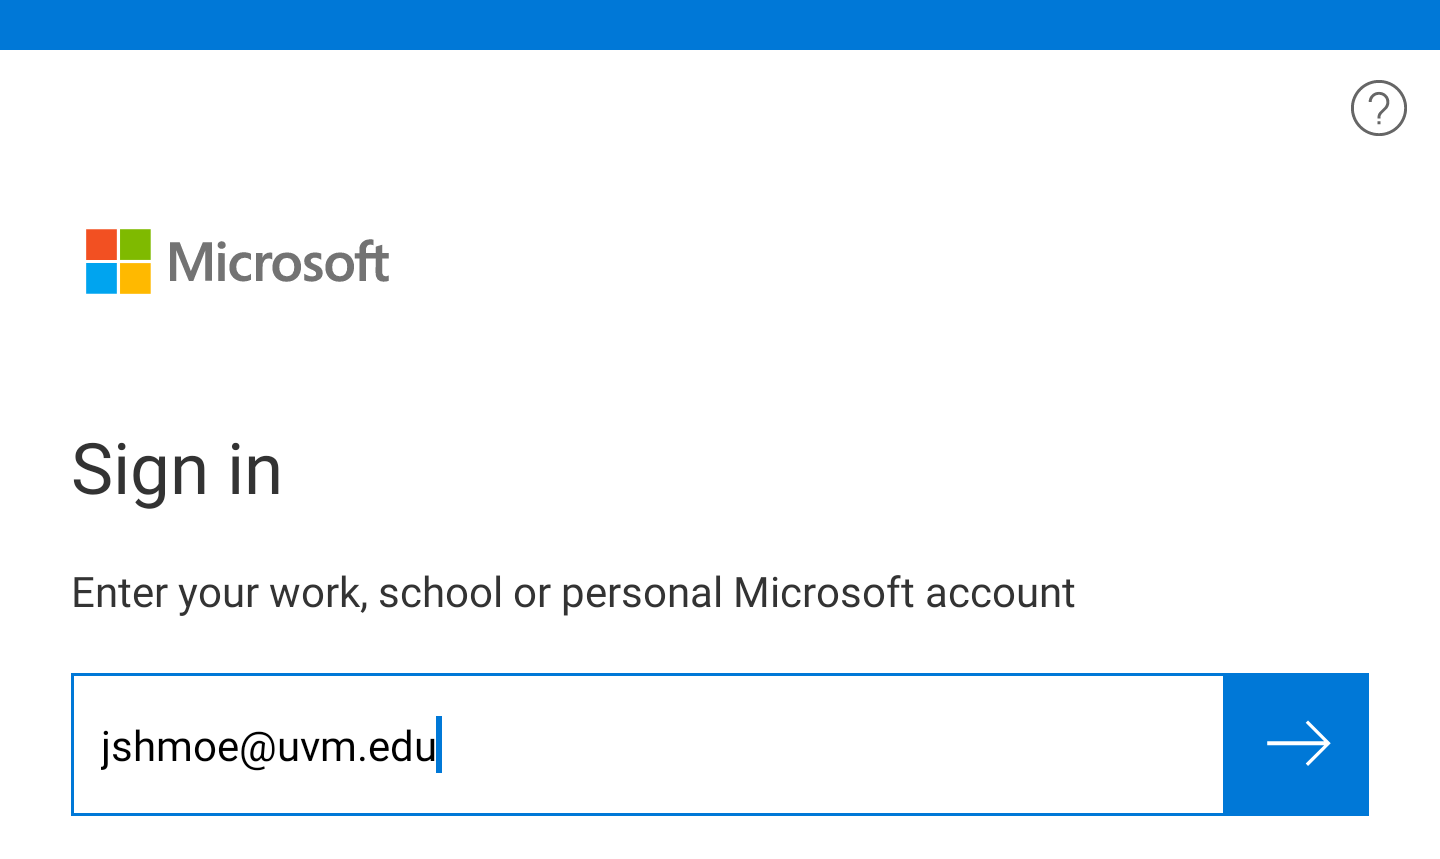
- Enter your UVM email address, and then tap the arrow.
- Log in with your UVM NetID and password.
You should now be signed in to OneDrive.
iOS
- Install Microsoft OneDrive from the Apple App Store.
- Once installed, open the OneDrive app.
- Tap Sign in, enter your UVM email address, and then tap Sign in again.
- Log in with your UVM NetID and password.
You should now be signed into OneDrive.
OneDrive on the web
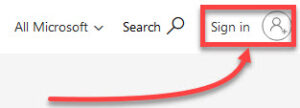
- Visit onedrive.com and click Sign In in the top right corner, or go to go.uvm.edu/onedrive
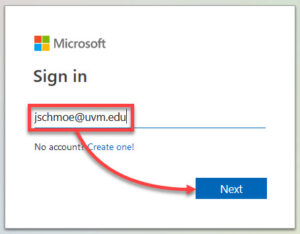
- Enter your UVM email address and click Next
- Enter your UVM NetID and password


You should now be signed in to OneDrive.
Getting Started with OneDrive
OneDrive Basics
After installing and signing into OneDrive, you will find a new folder available on your computer called OneDrive – University of Vermont. 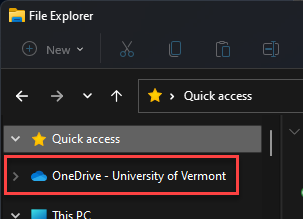
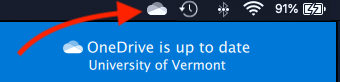
While the OneDrive application is open, the contents of this folder will automatically sync to your OneDrive cloud storage. You can monitor for file uploads, downloads, and other activity by clicking the OneDrive icon in your Windows icon tray or macOS menu bar. 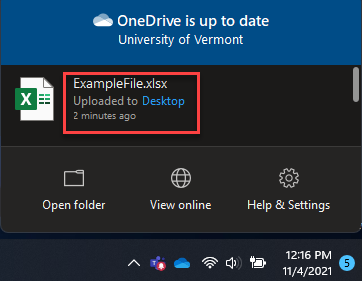
If you set up OneDrive on another device, any updates to files and folders stored in your OneDrive space will be synced across your devices. If you use a large amount of your OneDrive space, consider enabling Files On-Demand.
Explore OneDrive on Windows
After installing and signing into the OneDrive client on your device, you will see a OneDrive – University of Vermont folder on your computer. Anything you put in this folder will sync to the cloud and will be available to all devices you connect to your OneDrive account, or via the OneDrive webpage.
Navigating to your OneDrive – University of Vermont folder:
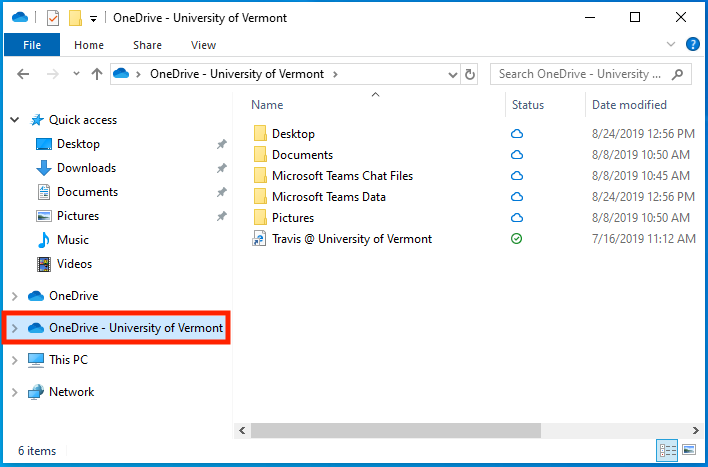
- Press the + E keys on your keyboard to open File Explorer.
- Your OneDrive – University of Vermont folder is located in the left column.
Explore OneDrive on macOS
After installing and signing into the OneDrive client on your device, you will see a OneDrive – University of Vermont folder on your computer. Anything you put in this folder will sync to the cloud and will be available to all devices you connect to your OneDrive account, or via the OneDrive webpage.
Navigating to your OneDrive – University of Vermont folder:
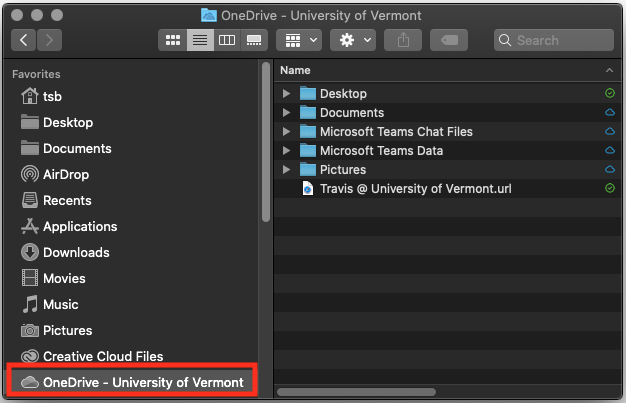
- Open a Finder window.

- Your OneDrive – University of Vermont folder is located in the left column.
Upload Files and Folders to OneDrive
- Ensure the OneDrive app is open and running
- Windows users can check for the OneDrive app in the icon tray:
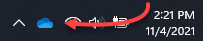
- macOS users can look in the menu bar:
- Windows users can check for the OneDrive app in the icon tray:
- Open your OneDrive folder using the Windows or macOS instructions above, and then drag and drop the files and folders you wish to upload to your OneDrive folder
- Verify your file or folder was uploaded by clicking on the OneDrive app in the Windows icon tray or the macOS menu bar
Back up common user profile folders
See the following official Microsoft support article for help backing up your Desktop, Documents, Music, Pictures, and Videos folders.
Share your Files and Folders
- Ensure your files or folders have been uploaded to OneDrive.
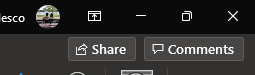
- Click Share, which can be found:
- In the top right corner of most Microsoft Office applications.
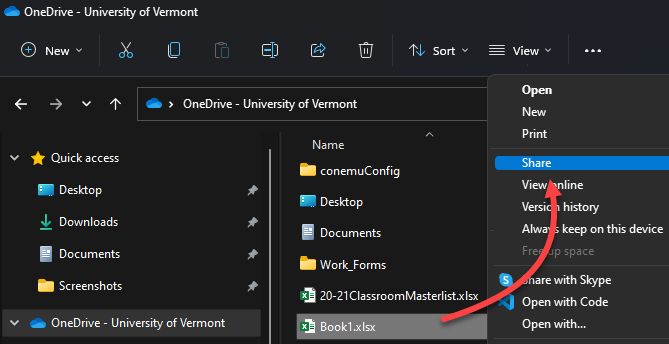
- By right-clicking a file or folder stored in your OneDrive folder.
- In the top right corner of most Microsoft Office applications.
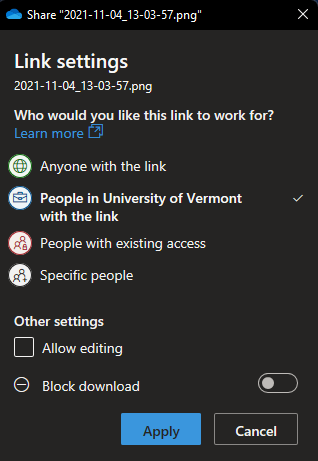
- Select how and to whom the file or folder should be shared
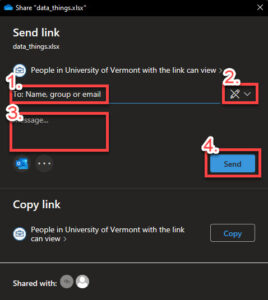
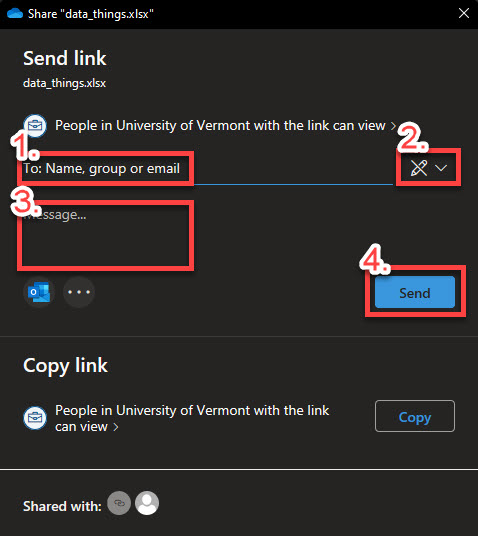
- To share via email: enter the email addresses you would like to share with, review settings, enter a message (optional), and then click Send.
- To copy a sharing link: open the link settings, make any necessary changes, click Apply, and then click Copy to copy the link into the clipboard.
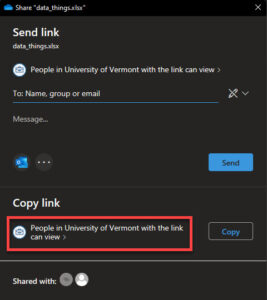
- To share via email: enter the email addresses you would like to share with, review settings, enter a message (optional), and then click Send.

Source: Microsoft
Revoke Access
-
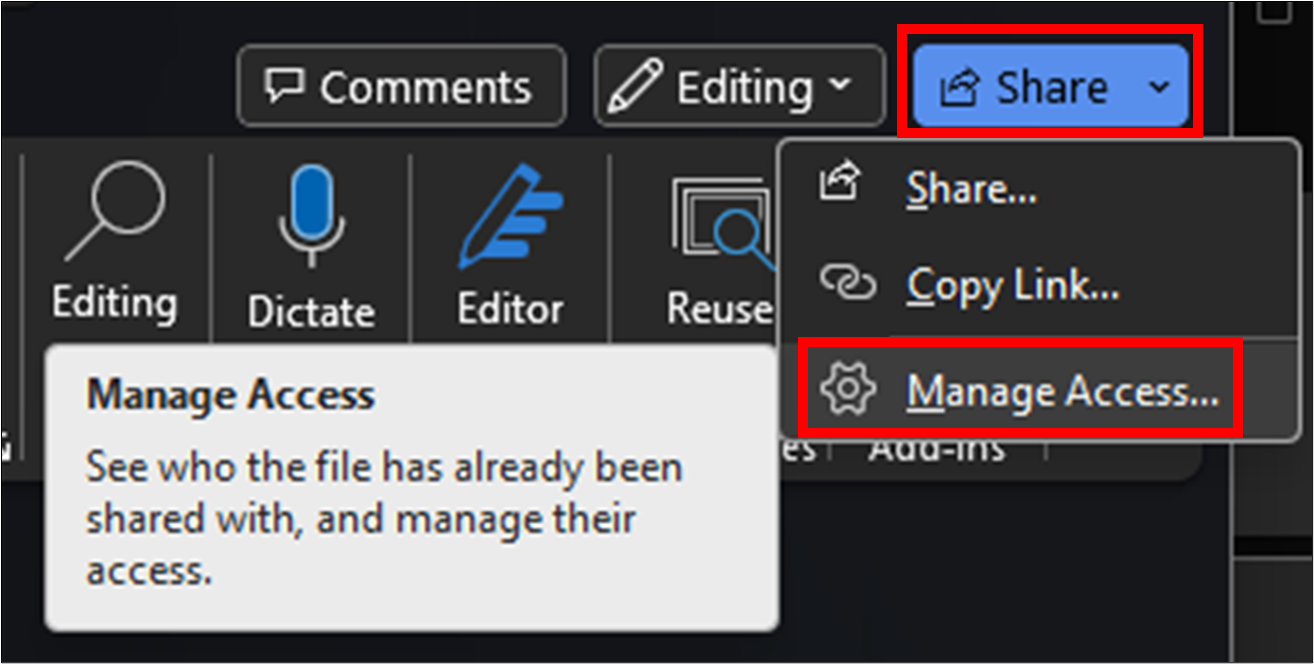
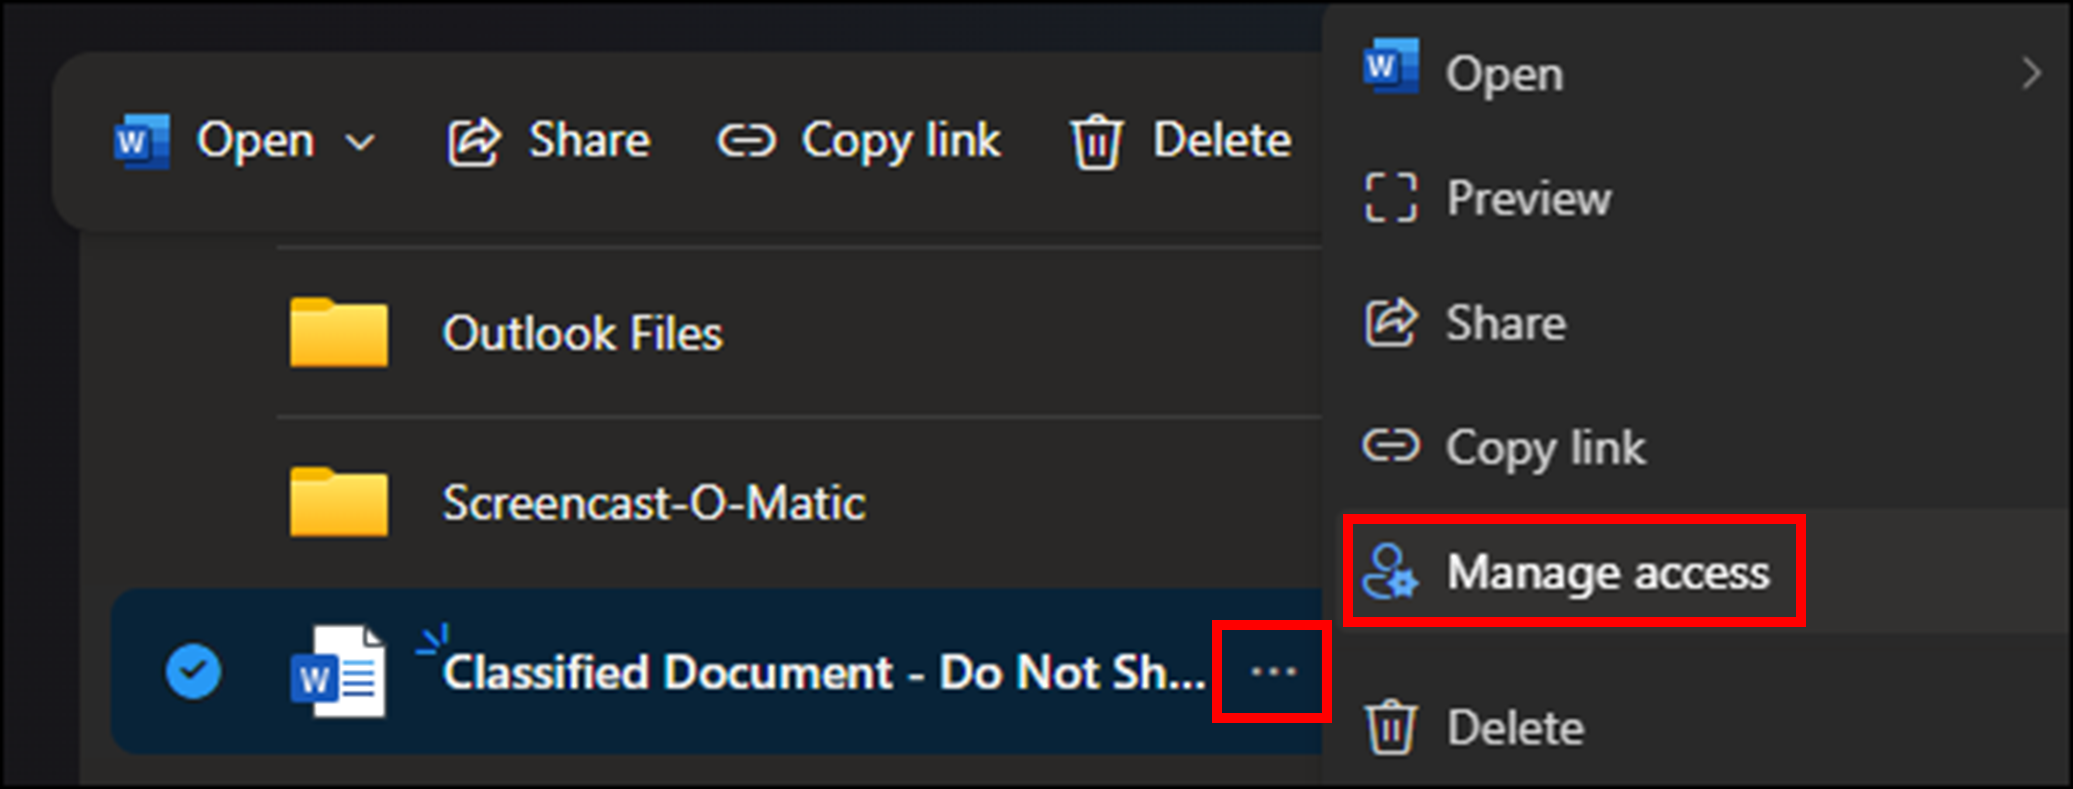
- Click Manage Access, which can be found:
- By clicking Share in the top-right corner of most Microsoft Office Applications.
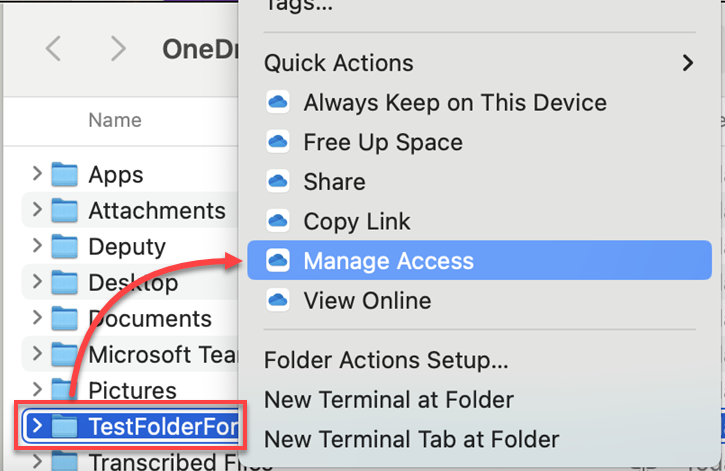
- By right-clicking a file or folder stored in your OneDrive folder on PC, clicking OneDrive and then Manage access.

- By right- or control-clicking a file or folder stored in your OneDrive folder on Mac and clicking Manage Access.
- Or, by clicking the ellipsis to the right of a file or folder in OneDrive online.
- By clicking Share in the top-right corner of most Microsoft Office Applications.
- From the Manage Access window you can:
- Click Manage Access, which can be found:
-
-
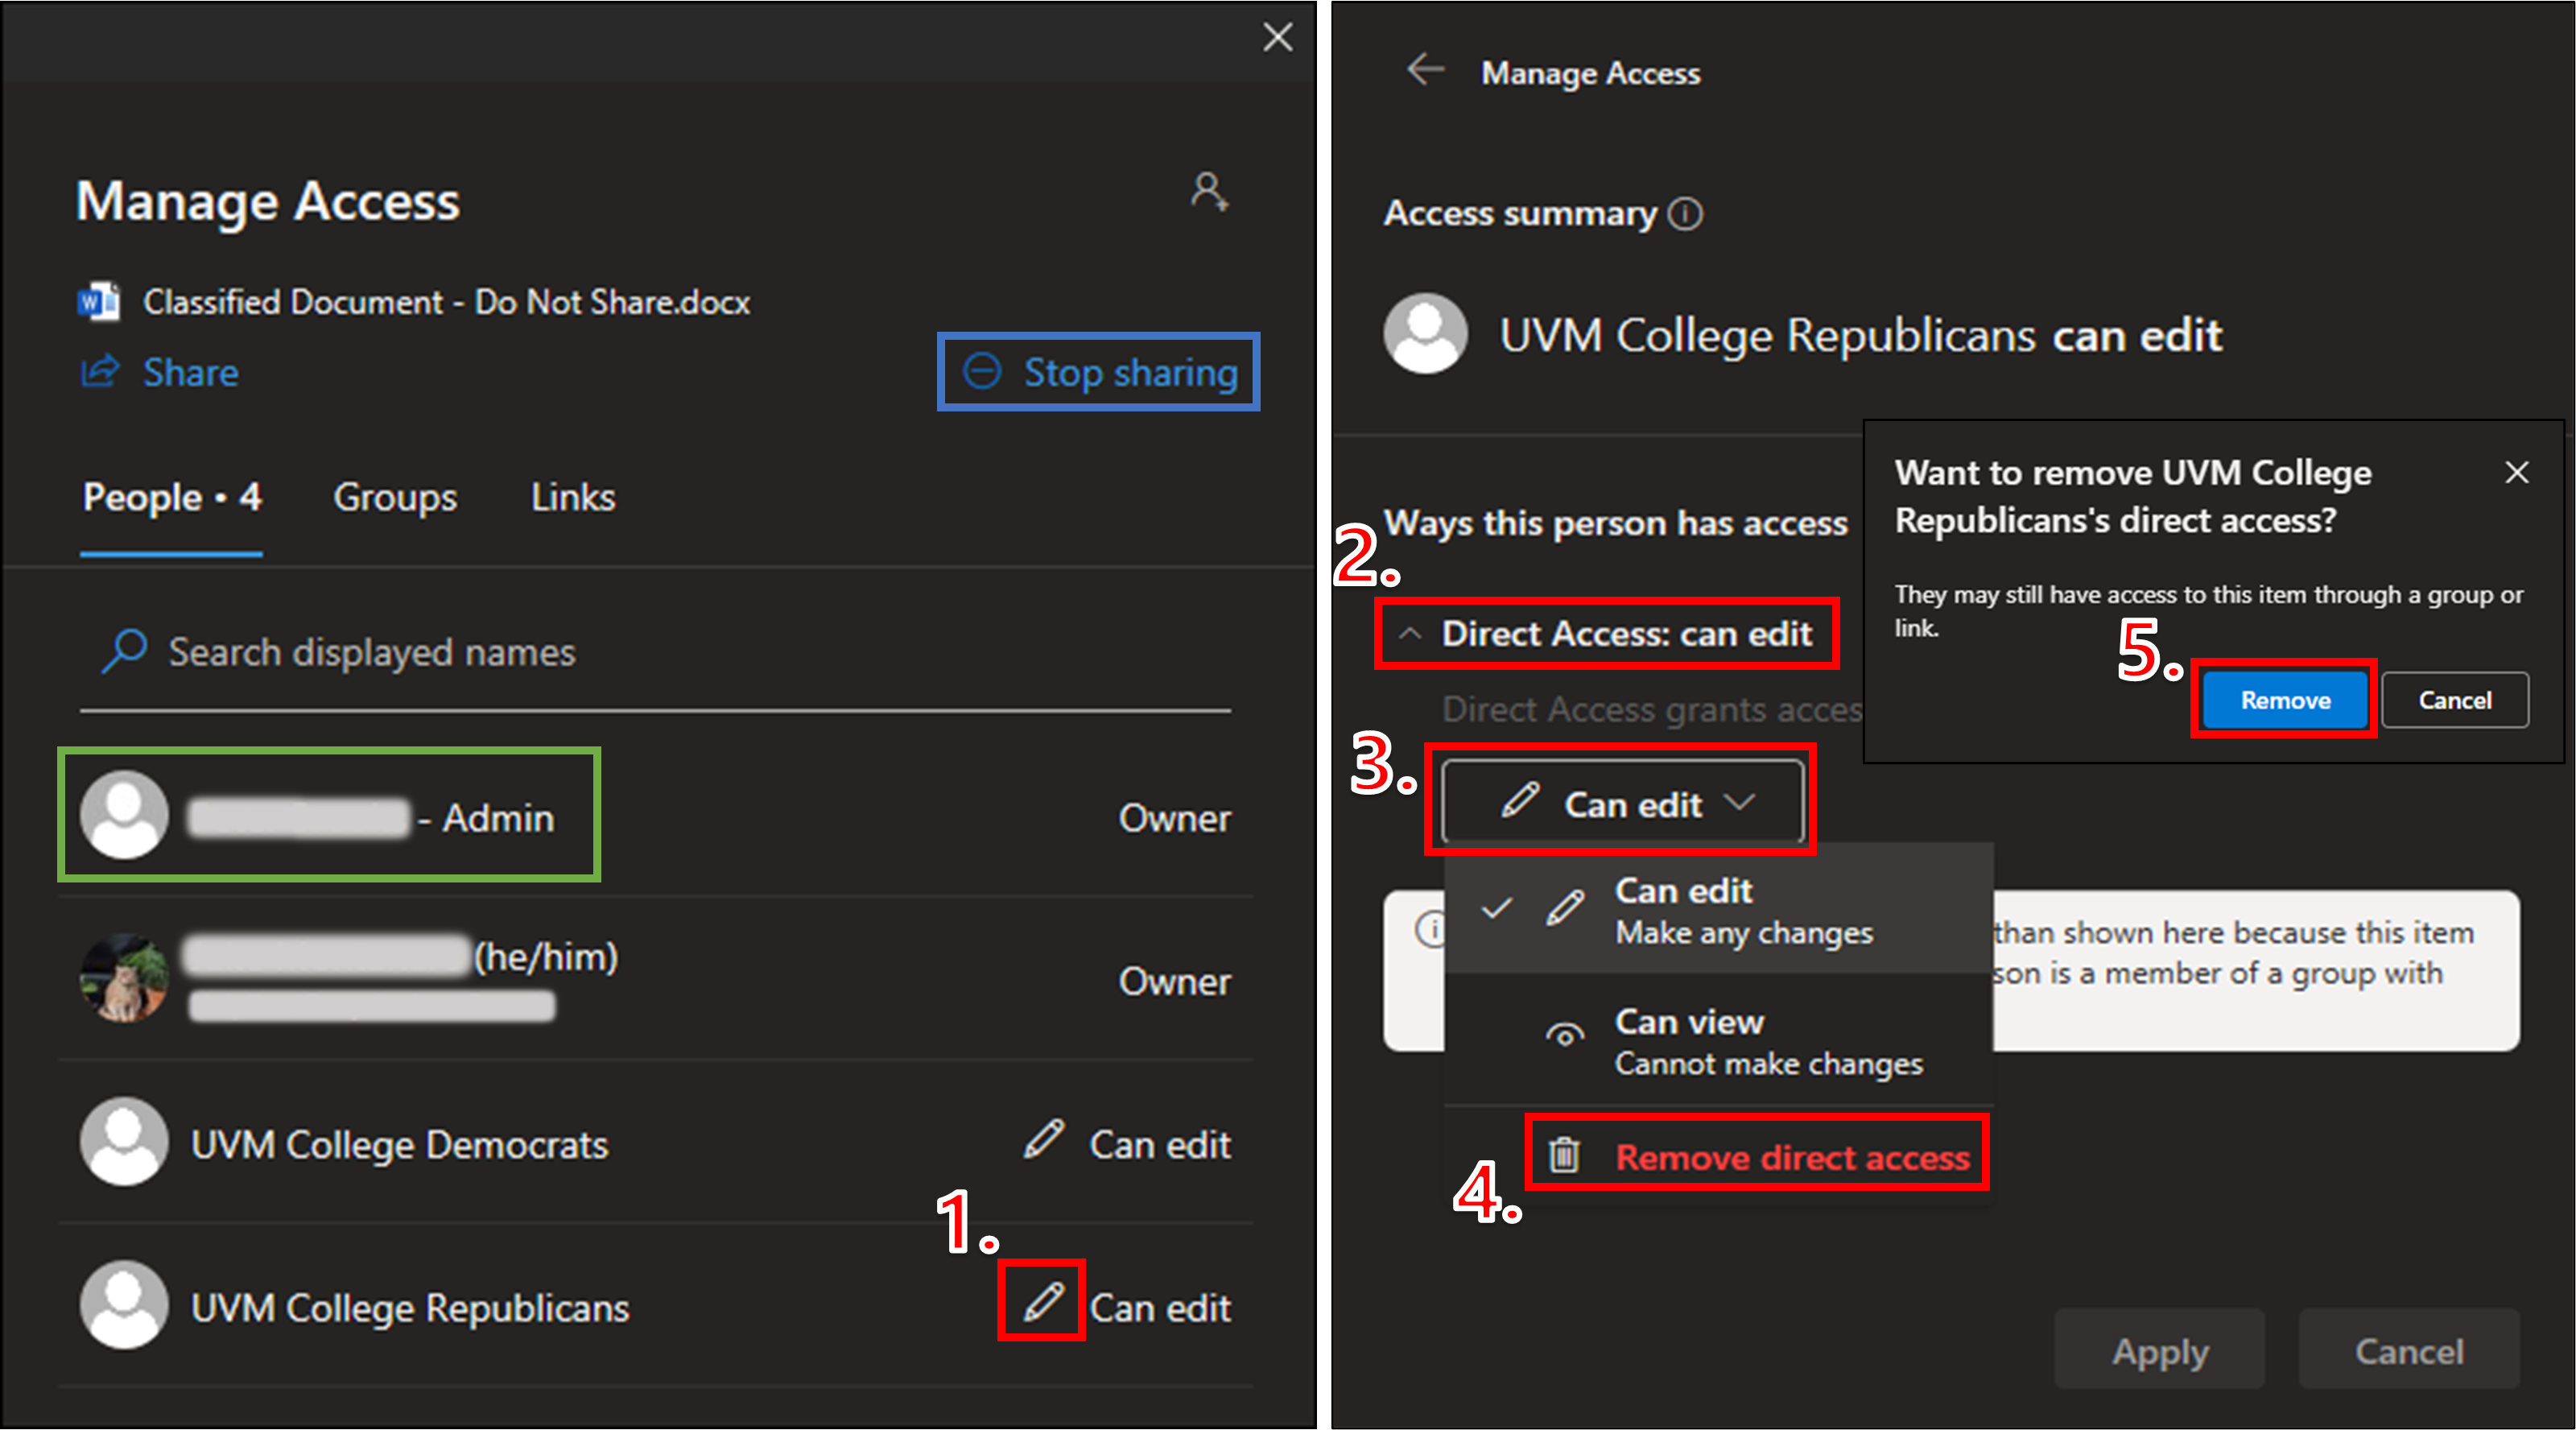
- Revoke access from all non-owner accounts by clicking Stop sharing (as shown in blue below) and then Stop sharing again to confirm.
- Or, you can revoke individual user access. To do so:
- Click the pencil icon to the right of their name.
- Click Direct Access.
- Click the drop-down menu that shows their current access level ( or )
- Click Remove direct access.
- Click Remove.
-
Scan, sign, and share documents
When working remotely, or away from your office scanner, use the OneDrive app on your smart device to scan documents as PDFs.
source: Microsoft
- In the OneDrive app, tap the Camera icon.
- Select Document and tap the white circle icon to scan the item.

- If you don’t like the image, tap the left arrow icon to delete the scan and try again.
- To sign or draw on the image, select the Pen icon and choose a color.
- Once you’re done editing your item, tap Done (or the checkmark on some Android devices), enter a file name, and then tap Save (or the checkmark on Android devices).
- Find the doc on your OneDrive (you may be prompted to share the latest scan), and tap the three dots to open a menu to share.
Sync Libraries
Start Syncing
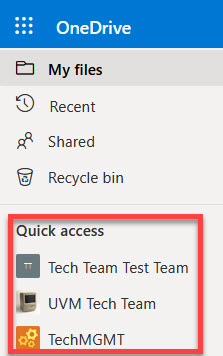
- Sign in to OneDrive on the web.
- Available SharePoint sites appear on the left side of the screen under Quick access.

- Select a SharePoint site to open that site’s library.
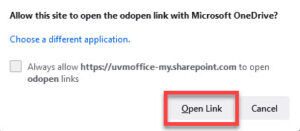
- Click Sync, and allow the site to open the link with Microsoft OneDrive.

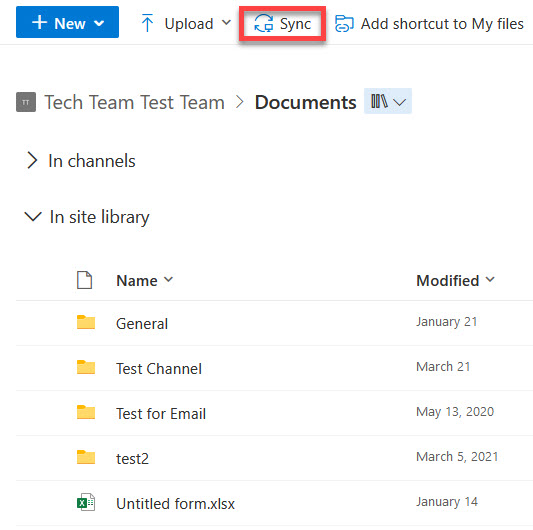

There should now be a new folder on your computer with a name matching the synced library. It can be found in File Explorer (Windows) or Finder (macOS).
Stop Syncing (Windows)
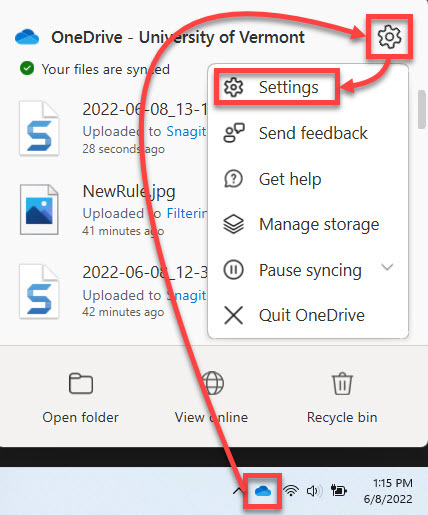
- Click the OneDrive icon in the taskbar, click the gear icon, and then click Settings.
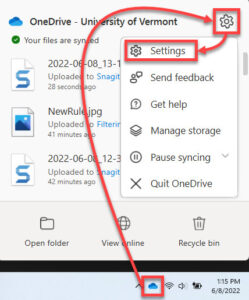
- In the Account tab, click Stop sync to the right of the location you would like to stop syncing.

- Click Stop sync in the confirmation window.
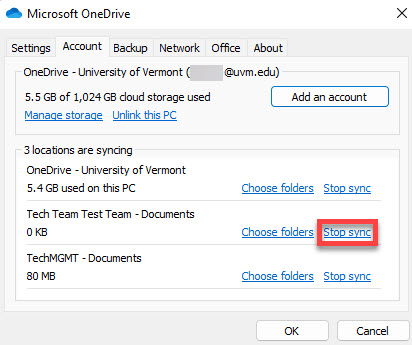
The folder and its contents will still be on your computer, but they will no longer sync with the SharePoint site.
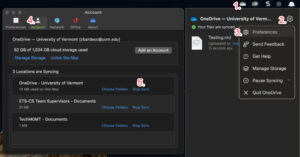
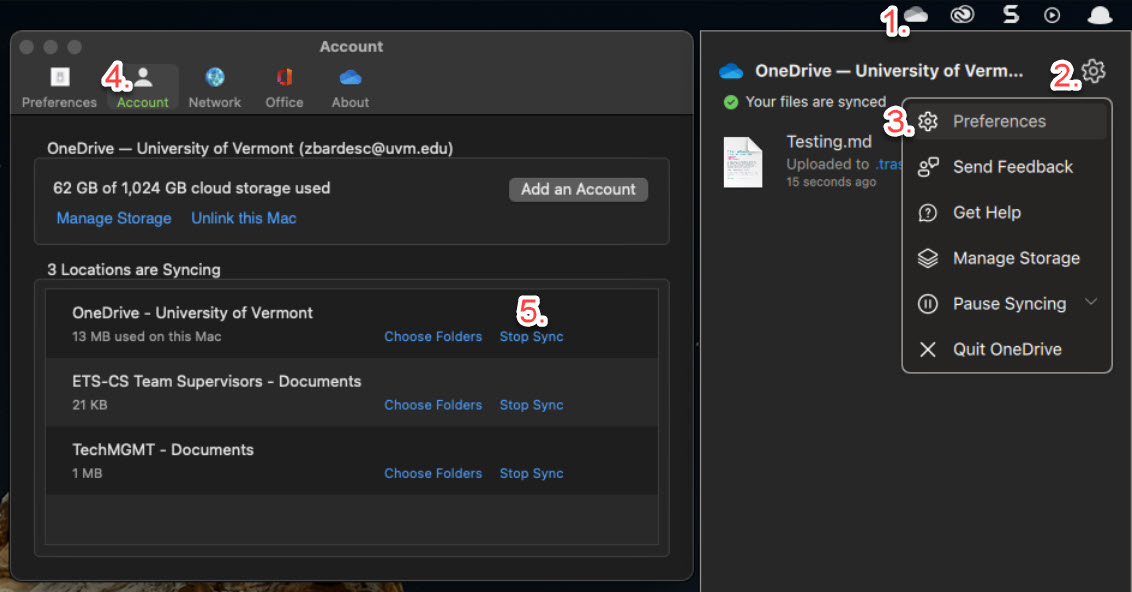
Stop Syncing (macOS)
- Click the OneDrive cloud icon on the menu bar in the top-right of your screen.
- Click the gear icon to show options.
- Select Preferences.
- Make sure you’re in the Account tab.
- Click Stop sync to the right of the location you would like to stop syncing.
Files On-Demand
OneDrive Files On-Demand gives you access to your files in OneDrive without using up disk space on your computer. This is especially useful when your hard drive is running low on storage space.
OneDrive Sync Status Icons
When Files On-Demand is turned on, the files synced to your OneDrive – University of Vermont folder will display one of three icons. These icons let you know the current sync status of the file or folder.
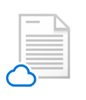
Online-only files don’t take up space on your computer. You see a cloud icon for each online-only file, but the file doesn’t download to your device until you open it. You need an Internet connection to open online-only files.

Opening an online-only file will automatically download a local copy of the file to your device. This allows the file to become a locally available file, which can be accessed anytime, even when your computer does not have an Internet connection. You can change the file back to online-only by right-clicking the file and selecting Free up space.

Files that have been marked as Always keep on this device will have a green circle with the white checkmark. Always available files are stored locally on your device and will take up space, but they are always available, even without an Internet connection.
Source: Microsoft
Enable Files On-Demand for Windows
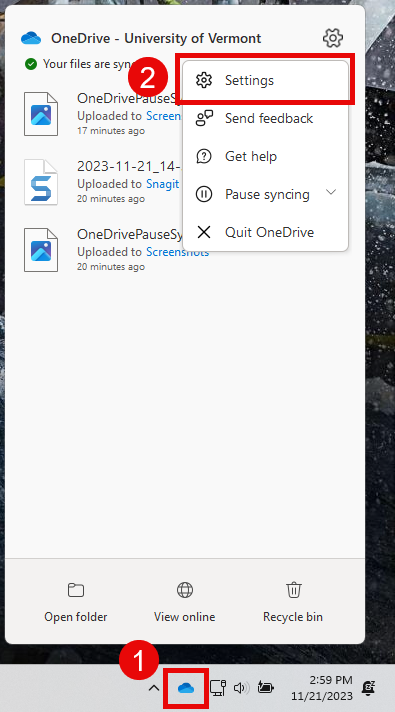
- Right-click the OneDrive cloud icon in the notification area. You may have to click the up chevron () to Show hidden items first.
- Select Settings.
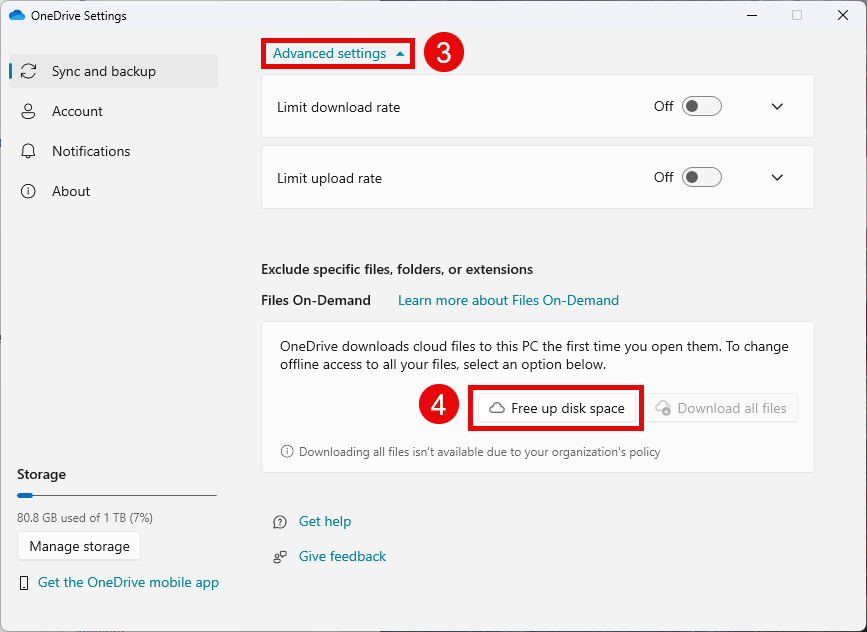
- Select Advanced settings and then scroll down.
- Select Free up disk space.
Enable Files On-Demand for macOS
Please see the following official Microsoft support page for information about Files On-Demand for Mac.
Troubleshooting
Restore Deleted files from OneDrive
Source: Microsoft
- Visit go.uvm.edu/onedrive and sign in with your UVM NetID and password.
- Select Recycle bin from the left-side menu.
- Select all the files you wish to restore.
- Click Restore from the top menu.
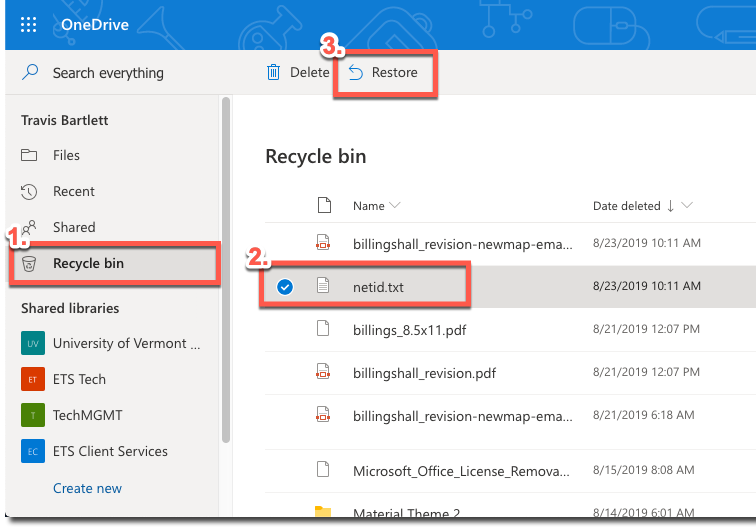
- The selected files will be restored to their original location.
I can't access OneDrive
If you’re unable to login to OneDrive, please contact the UVM Tech Team.
macOS can't sign-in after password change
If you’re unable to sign into OneDrive for macOS after a NetID password change, quit the OneDrive client and open your Keychain Access using the Finder > Go > Utilities > Keychain Access.app menu path.
Once in Keychain Access, use the search box in the upper right to find the term OneDrive, select the entry containing the term “Cached Credential”, and delete it.

Reopen the OneDrive app, and then sign in using your UVM NetID and password.
Fix OneDrive sync problems
Visit the following official Microsoft support page to start the OneDrive troubleshooter, see descriptions of some commons OneDrive icons, and learn some common fixes:
Turn it off and back on again
- Click the OneDrive cloud icon in the upper-right corner (MacOS) or the bottom-right corner (Windows) of your screen. You may have to click the up chevron () to Show hidden items first.
- Click the More ellipsis () icon (Mac) or the Gear () icon (Windows).
- Click Pause syncing .
- Select Quit OneDrive.
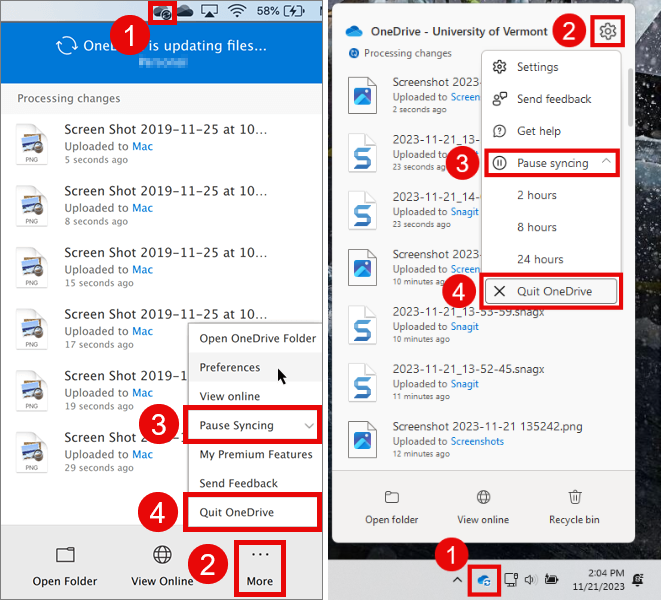
- Reopen the Application from the Applications Folder (Mac) or the Start Menu (Windows).